Article
How to Choose the Right Poly Mailer Size
A method for sizing mailers against your own products, covering the three measurements that matter, the tests worth running, and the mistakes that cost most.
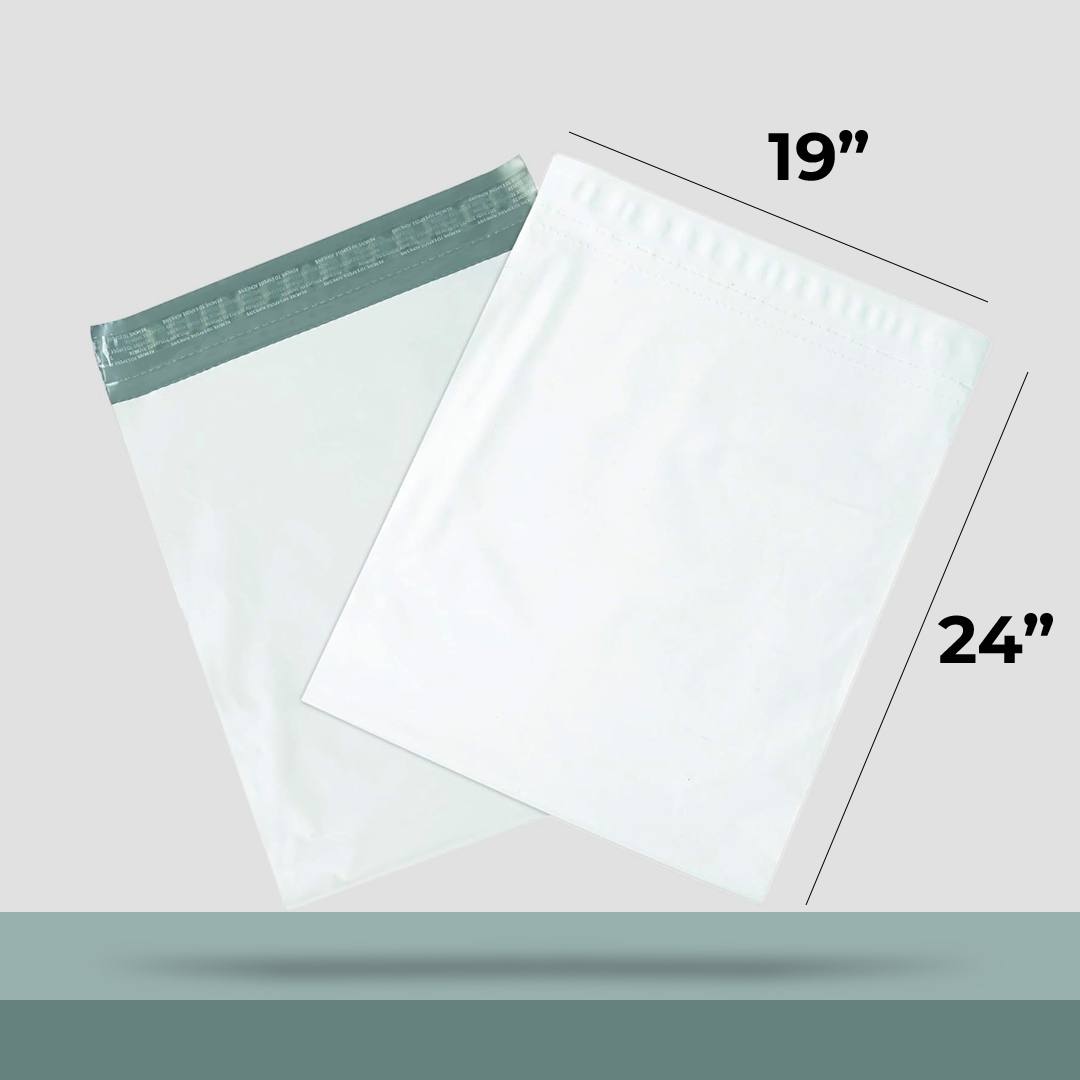
Most sizing advice starts with a chart. That is the wrong end of the problem, because a chart tells you what sizes exist and not which one your product needs.
What decides that is the parcel you actually send — the product plus the card, the tissue and the returns slip — folded the way your team folds under time pressure, and measured against the shipping bands you buy on. None of those things appear on a chart.
This is the method that works, in the order it needs doing.
Start with the order, not the product
The single most common sizing error is measuring the product.
A folded t-shirt is not what you ship. What you ship is a folded t-shirt, a thank-you card, a sheet of stickers, a returns slip and sometimes a sample sachet, compressed into a bundle by somebody working quickly. That bundle is meaningfully larger than the garment, and it is what has to fit.
So the first step is to build a real order. Not a representative one, not a typical one — a complete one, including everything that goes in the parcel on a normal day. If your inserts vary by order type, build the heaviest version.
Do this for your five most-shipped products rather than your whole catalogue. Five will usually account for the large majority of your volume, and they will cluster into two or three sizes without you having to force them — usually into two or three of the sizes we run as standard.
The three measurements that matter
Once you have a packed bundle, take three measurements. Two of them are obvious and the third is the one that decides most outcomes.
- Packed width. The widest point across the folded bundle, not across the flat item. Folds add width that a flat measurement never shows.
- Packed length. The longest point once folded, including anything that will not compress — a rigid card, a boxed item, a spine.
- Packed depth. How thick the bundle is under the light pressure a packer applies while sealing. Measure it compressed but not crushed.
Depth is the one people skip, and it is the one that decides both whether the bag closes properly and which shipping band the parcel lands in. A parcel that is small in footprint and thick in section frequently costs more to send than a wider, flatter one containing exactly the same things.
The measurement that is almost useless on its own is the flat dimension of the product. A garment laid out on a table tells you nothing about what it becomes when folded, and a lofty item tells you less again. Where to hold the tape for each of the three is set out in the guide to measuring a packed parcel.
Test before you commit
Ten minutes with a physical sample settles what an afternoon of spreadsheet work cannot. Ask for two candidate sizes rather than one, because the comparison is what produces the answer.
- Pack your heaviest routine order into each. Use the real fold, done by the people who pack for you, at working pace. A careful desk fold and a bench fold at four in the afternoon are different sizes, and you will get the second one.
- Seal it properly and check the strip. The adhesive must meet clean film along its whole length. If the contents reach the strip anywhere, the size is too tight — that section of the seal is bonded to a garment rather than to the bag, and it is where the parcel will open.
- Drop each parcel once, flat, from bench height onto a hard floor. Then once on a corner. A seal that opens on a single drop will open in a sorting hub.
- Weigh and measure the packed parcels. Check them against the pricing bands you actually buy on, because a size change can move a parcel across a threshold in either direction.
- Choose the smaller size that passes. If both work, the smaller one is cheaper per unit and travels better.
If you have nothing to test with, request samples in two candidate sizes and pack them yourself before committing to a run.
That last point is worth dwelling on, because it runs against instinct.
Why sizing up is not safer
The natural response to a damaged parcel is to order a bigger bag. It rarely helps and frequently makes things worse.
A mailer with contents that fill it is held rigid by those contents. The same contents in a larger bag can move, gather speed and hit the end of it, which is precisely the mechanism that damages corners and opens seals. Slack air does not cushion anything; it gives the load somewhere to travel.
An oversized mailer also costs more per unit, occupies more space in a shipping vehicle, and on any dimensional pricing arrangement is billed for volume it is not using.
The exception is loft. A genuinely lofty product — a knitted jumper, an insulated jacket, a cushion — is trying to expand rather than settle, and forcing it into a bag that only just contains it puts the closure under continuous tension. The right answer there is usually a gusset rather than a bigger flat bag, because a gusset gives the loft somewhere to go without adding slack. Where loft is the whole problem, start from the larger formats built for bulky goods rather than sizing up a flat bag.
What a size decision does to shipping cost
Packaging cost and shipping cost move in opposite directions when you change size, and the second is almost always the larger number.
A smaller bag costs less per unit and can produce a thicker parcel. A slightly larger bag costs more per unit and can produce a flatter one. Which is cheaper overall depends entirely on where your carrier’s thresholds sit, and those thresholds are set around depth as much as weight for small parcels.
This is why weighing and measuring a packed sample matters more than the unit price comparison. The difference between two mailer sizes might be fractions of a cent; the difference between two pricing bands is not.
If you ship internationally, run this check per market rather than once. Format thresholds differ, and a parcel optimised for one market can sit awkwardly in another. The considerations that change across markets are set out in the guide to ordering across markets.
When to standardise on one size
Running a single size removes an entire class of error. Packers never choose wrongly, there is one line to reorder, one artwork file, one carton on the bench.
That is worth real money, and for a range with consistent bulk it usually outweighs the film wasted on the lighter orders.
It stops being worth it when a meaningful proportion of your orders sit badly in that size — either lost inside it or straining it. As a rough threshold, if more than about a fifth of your parcels are in that position, the waste and the damage together will cost more than a second size would.
The way to know is your own order data. Pull a month of shipments, group them by packed size, and look at the distribution before deciding. An impression of what you ship is wrong more often than it is right.
Standardising also makes unprinted stock in a single size a reasonable first order, because there is no artwork to redo when the size changes.
The mistakes that cost the most
Four errors account for most of the sizing decisions that get reversed within a year.
- Sizing against the product rather than the order. Produces a run that stops fitting the moment inserts are added.
- Choosing a tight size to save on film. The film saving is pennies; the shipping cost of a thicker parcel is not.
- Buying one size larger for safety. Higher unit cost, less stable parcels, more damage rather than less.
- Standardising on one size across a genuinely varied range. Waste on the light orders, failures on the heavy ones, and a damage rate concentrated in your most valuable shipments.
All four are avoided by the same thing: packing a real order into a physical sample before committing to a run. The decisions worth settling before you ask for a price cover the rest of them.
What to do next
If you have not tested anything yet, that is the step. Two candidate sizes, your heaviest routine order, your own packers, and a drop test on a hard floor. It takes ten minutes and it is more reliable than any table.
If you have tested and you are between two sizes, take the smaller one and check the seal sits on clean film. If it does, that is your size.
And if your problem turns out to be damage rather than fit — contents arriving broken in an intact bag — the answer is not a different size at all. It is cushioning, and the comparison of protective mailer formats starts from the damage rather than from the packaging.
Notes on sources
- Carrier dimensional and format rules
- Parcel pricing bands and format thresholds are set by each carrier and reviewed periodically. Check current figures directly with the carrier you buy from rather than relying on any third-party summary, including this one.
Questions this raises
Should I round up or down when a product falls between two sizes?
Down, provided the packed parcel still seals onto clean film with the contents sitting below the adhesive strip. An oversized mailer costs more per unit and leaves slack air, and slack air makes a parcel less stable rather than safer.
How many sizes should I stock?
Two or three covers most operations. One size wastes film on light orders and strains on heavy ones, while four or more introduces decisions at the packing bench that get made inconsistently once volume rises.
Do mailer dimensions include the closure flap?
It depends on the supplier. Some quote the usable area with the flap above it, others quote overall dimensions. Two identical-looking numbers can describe different bags, so compare physical samples rather than figures.
Have someone size it against your actual products
Send the dimensions of what you ship, or a photograph of a packed parcel. We will recommend a size, say why, and price it.